Orthographic Projection
Orthographic Projection
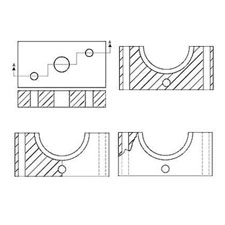
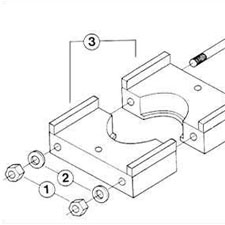
This is the final lesson in the Mechanical Print Reading Course. This lesson trains participants in the use of orthographic projections in mechanical print reading. Pictorial drawings and various views used in mechanical print reading are demonstrated. The lesson also discusses aspects of sectional views, threaded fasteners, and how to identify thread designations.
Course Overview
This course consists of four lessons. This lesson was designed to provide training for maintenance technicians, mechanics, electricians, and others requiring knowledge of mechanical print reading. The lessons in this course show and explain how to read and interpret various mechanical drawings.
Module Overview
This is the final lesson in the Mechanical Print Reading Course. This lesson trains participants in the use of orthographic projections in mechanical print reading. Pictorial drawings and various views used in mechanical print reading are demonstrated. The lesson also discusses aspects of sectional views, threaded fasteners, and how to identify thread designations.
Module Objectives
- Define an orthographic projection.
- Identify the purpose of an orthographic projection.
- Relate orthographic views to projections.
- Relate how first and third angle projections are used.
- Describe what a third angle looks like.
- Identify the symbol for each angle in the title block.
- Define the three types, characteristics, and uses of pictorial drawings: isometric, oblique and perspective.
- Recognize sectional views and define why sectional views are used.
- Identify the four types of sections.
- Describe three ways to represent the threads of threaded fasteners.
- Identify thread designations.

